
Organize and find your material
Find notebooks and books, organize subjects and recover deleted material.
Step 1. Open your library
In Study’s Your notebooks section, choose View all or submit Search all notebooks. That route can start with the Notes filter selected. In Library, use Content type and Apply to switch between Notes & Books, Notes and Books. Reader’s View archived books opens the Books / Archived view directly.
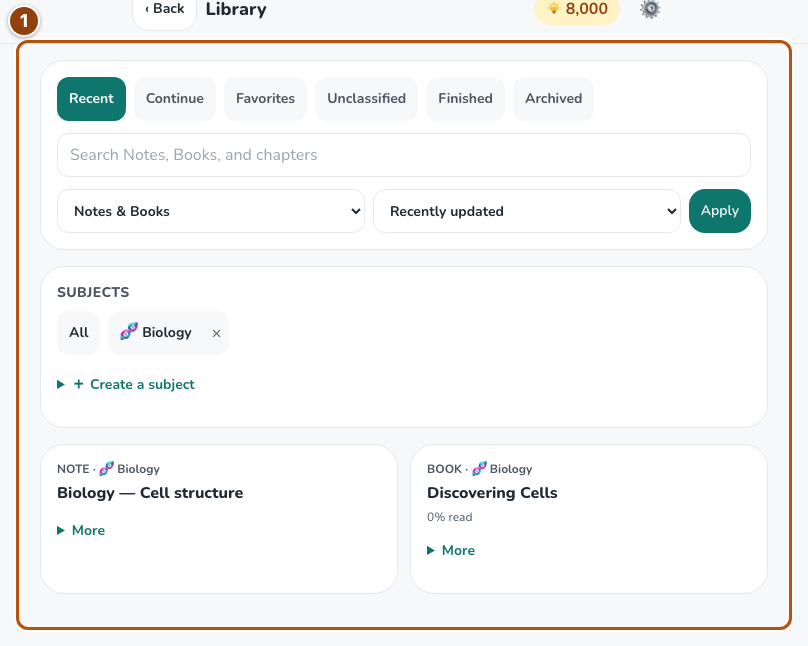
Reference 1 · The numbered outline marks the useful controls. Select the screenshot to enlarge it. Step 2. Search and filter
Use the Library search field for a title or a term in your saved content. Search results keep the selected content type, subject and collection. Choose Recent, Continue, Favorites, Unclassified, Finished or Archived as appropriate; Continue and Finished are for books. Choose a subject under Subjects; for content type or sort changes, choose Apply. Clear the query or broaden filters when no result matches.
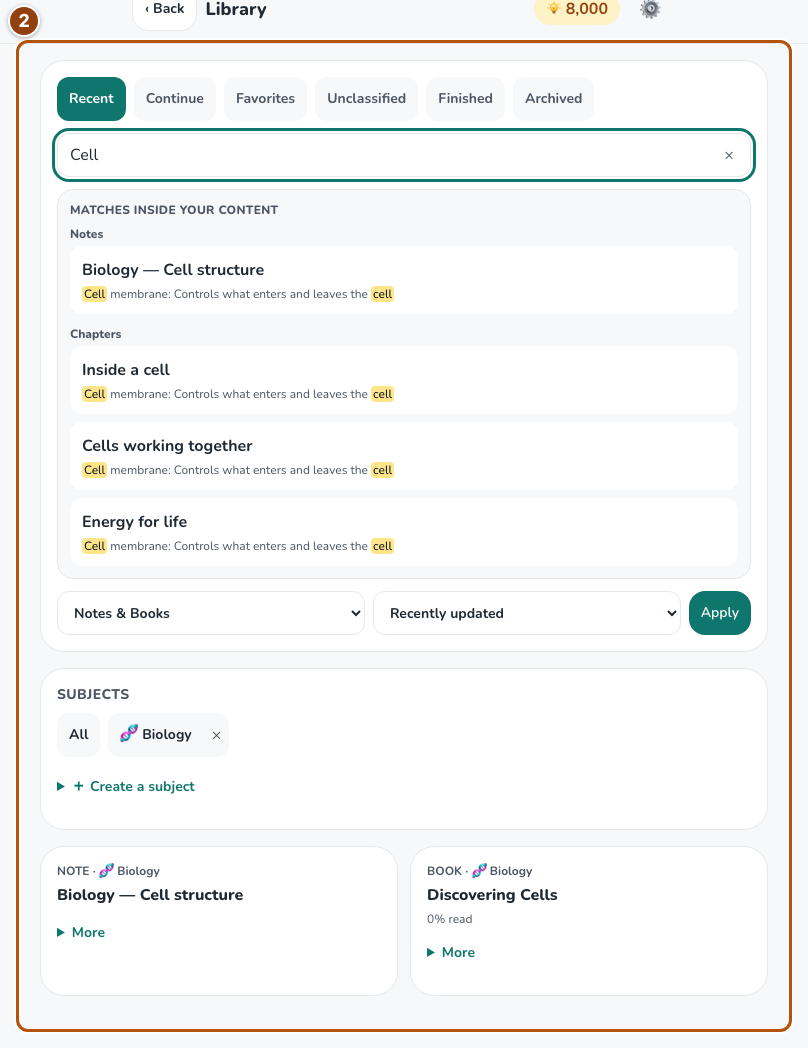
Reference 2 · The numbered outline marks the useful controls. Select the screenshot to enlarge it. Step 3. Keep notebook details recognizable
Open More on a Library item or a notebook. Change its Title or Subject, mark it Favorite, or set Archived, then Save. Archived material remains available in the Archived view and still counts toward the plan limit. After editing notebook source notes, update generated tools when prompted.
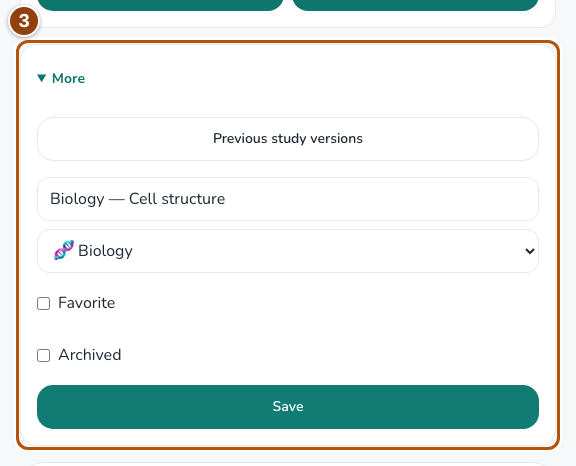
Reference 3 · The numbered outline marks the useful controls. Select the screenshot to enlarge it. Step 4. Recover a deleted notebook or book
Move a notebook or book to Trash from its delete control. Use Undo immediately when shown, or open Settings → Open Trash and choose Restore within 30 days. Restoration needs a free slot in your plan. Delete forever is separate and cannot be undone.
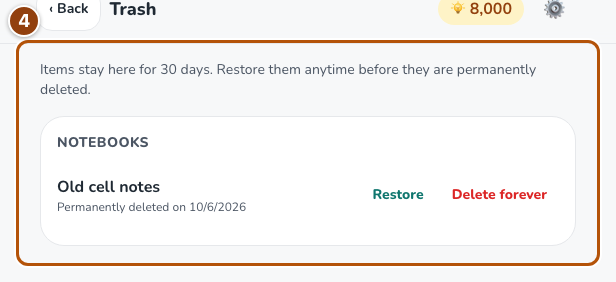
Reference 4 · The numbered outline marks the useful controls. Select the screenshot to enlarge it.